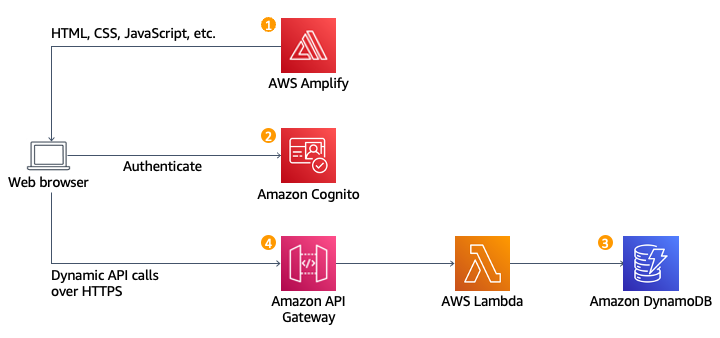
Let’s Start the Journey
CodeCommit
AWS CodeCommit is a fully managed source code repository service provided by Amazon Web Services (AWS). It enables developers to securely store, manage, and collaborate on Git repositories for their software projects. With features like access control, branch management, and integration with other AWS services, CodeCommit simplifies version control and streamlines the software development process, making it easier for teams to work on code together and deploy applications with confidence.
Login to the aws account and search CodeCommit
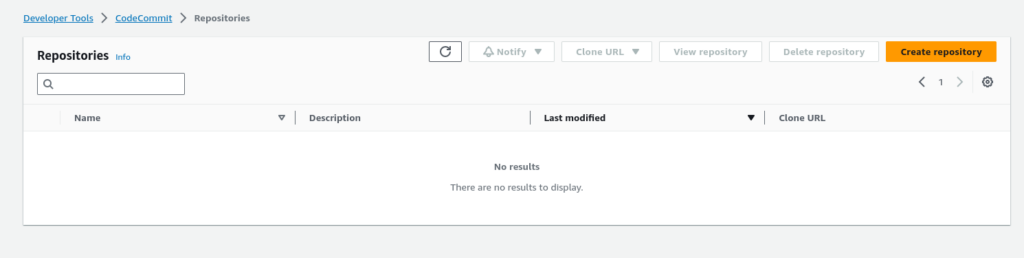
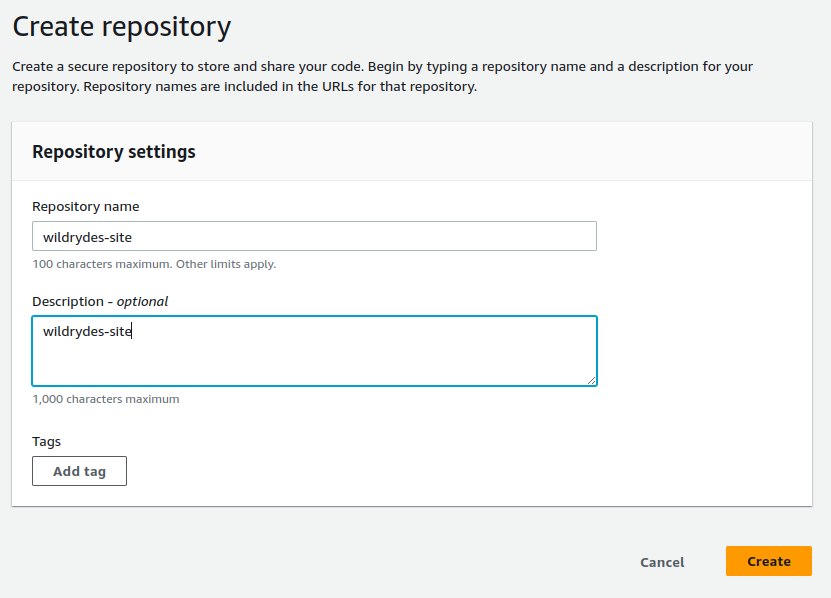
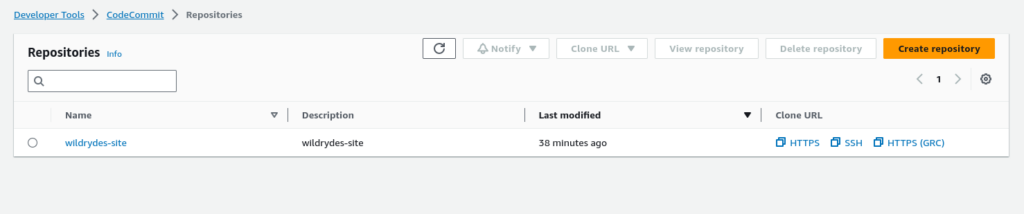
Create a repository name called “wildrydes-site“
Then clone the repository
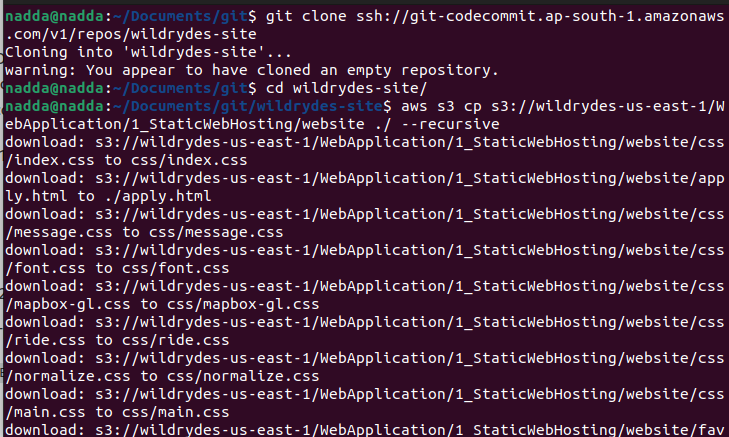
Please copy the static site files in to the repo folder from s3 bucket using below command
aws s3 cp s3://wildrydes-us-east-1/WebApplication/1_StaticWebHosting/website ./ --recursive
Please push the code to the CodeCommit
git add .
git commit -m "new files"
git push
Amplify
AWS Amplify is a development platform provided by Amazon Web Services (AWS) that simplifies building full-stack web and mobile applications. It offers a set of tools and services for frontend and backend development, including authentication, APIs, storage, and hosting. Amplify supports multiple programming languages and frameworks and streamlines the development process with features like continuous integration and deployment. It’s designed to help developers quickly create scalable and secure applications while leveraging AWS services.
Go to the Amplify
Create Host web app
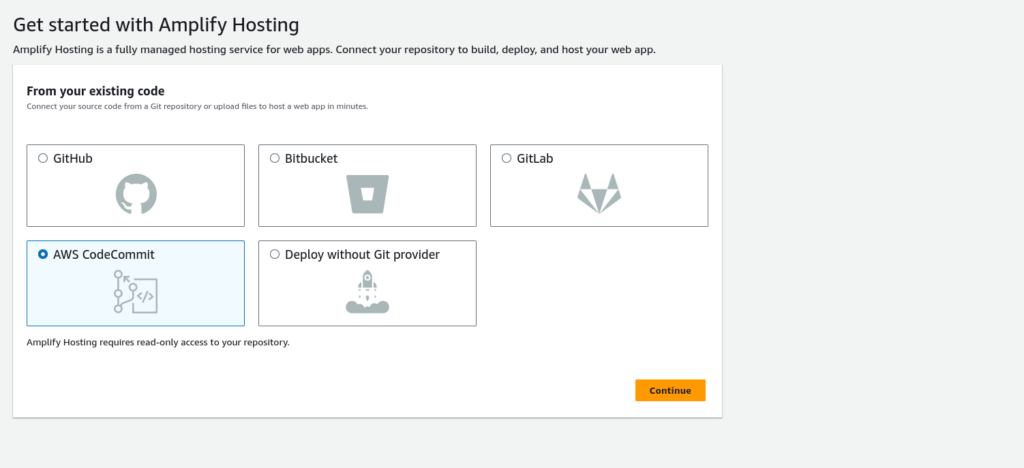
Select created CodeCommit repo
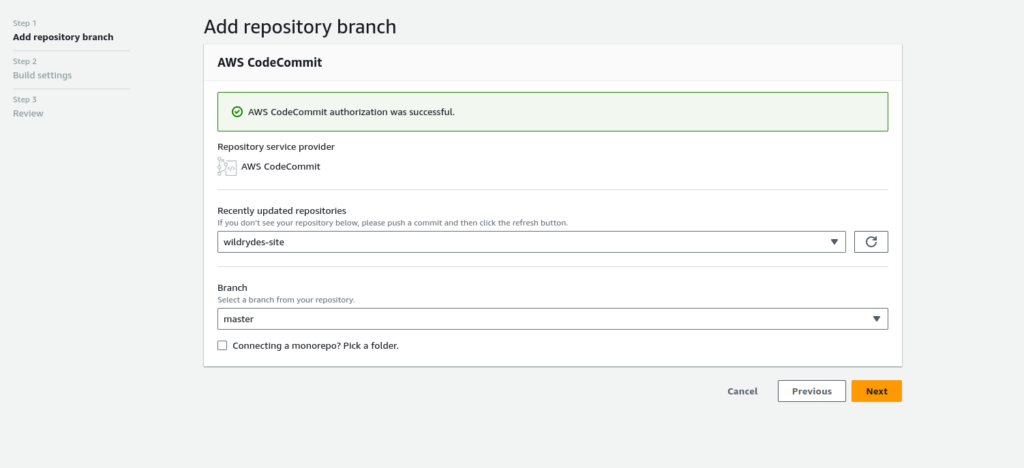
Save and Deploy
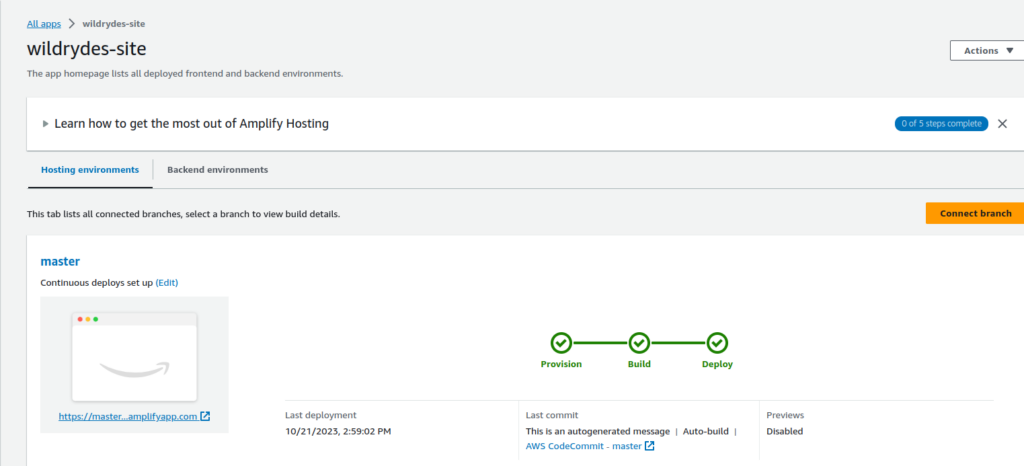
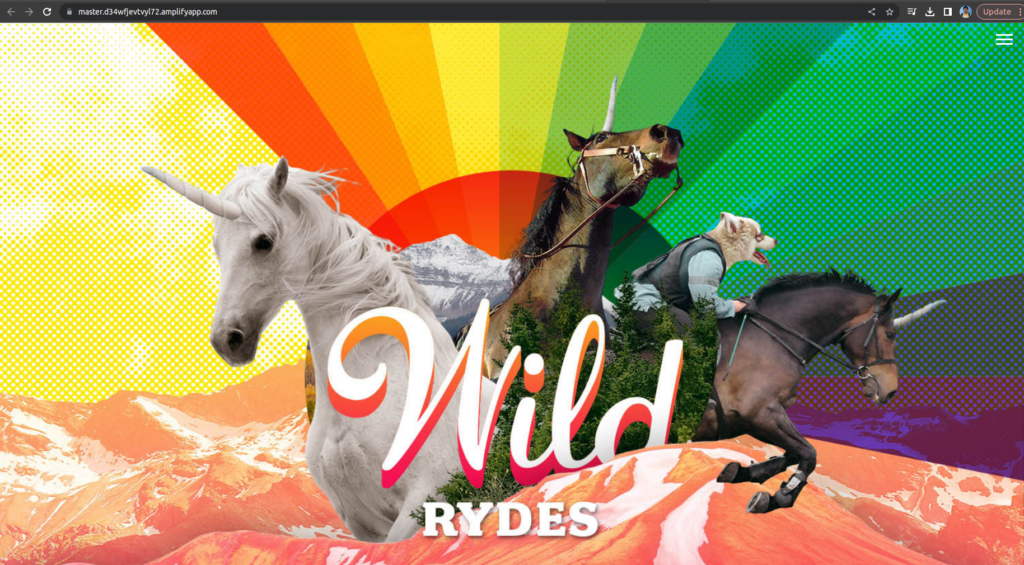
Check out the URL
Coginto
Amazon Cognito is a fully managed identity and user management service offered by Amazon Web Services (AWS). It provides secure user sign-up, sign-in, and access control for web and mobile apps. Cognito handles user authentication and authorization, making it easier to add user management features to your applications. It supports various identity providers, multi-factor authentication, and scales to handle millions of users while offering built-in security features like encryption and user data protection.
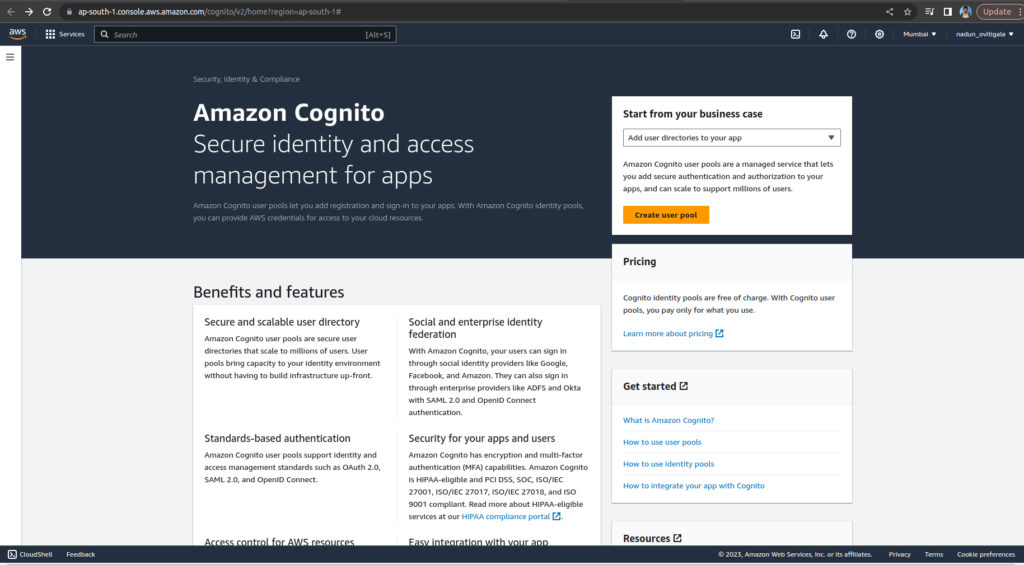
Search and go to the Codinto
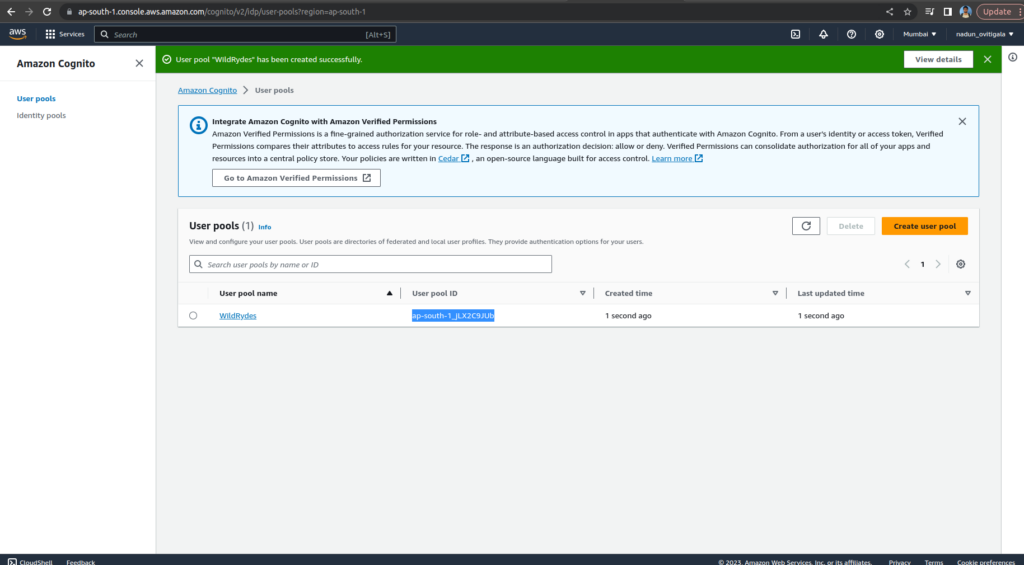
Click on create user pool
Select Cognito user pool sign-in options and select User name
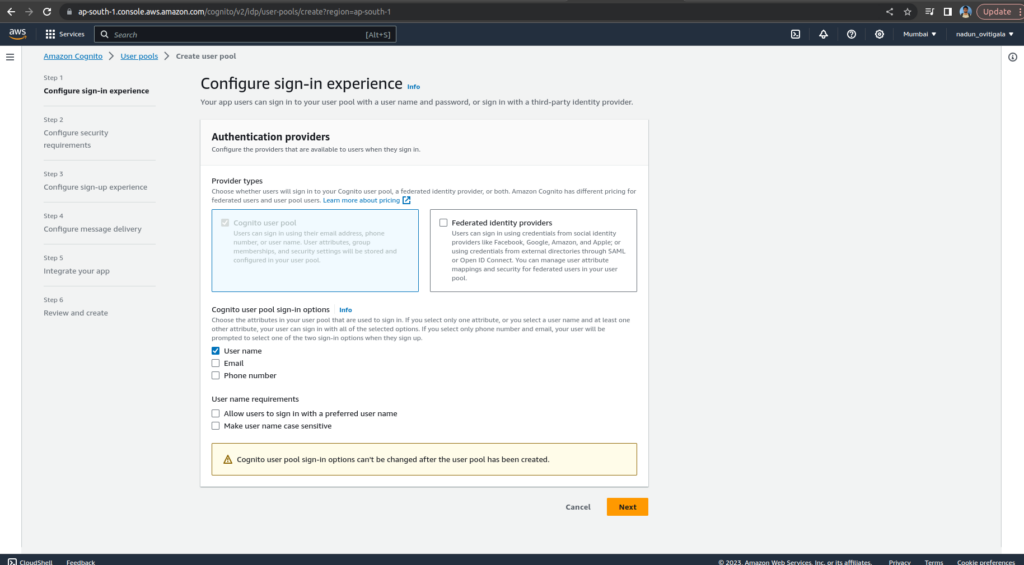
Keep the Password policy mode as Cognito defaults and choose No MFA
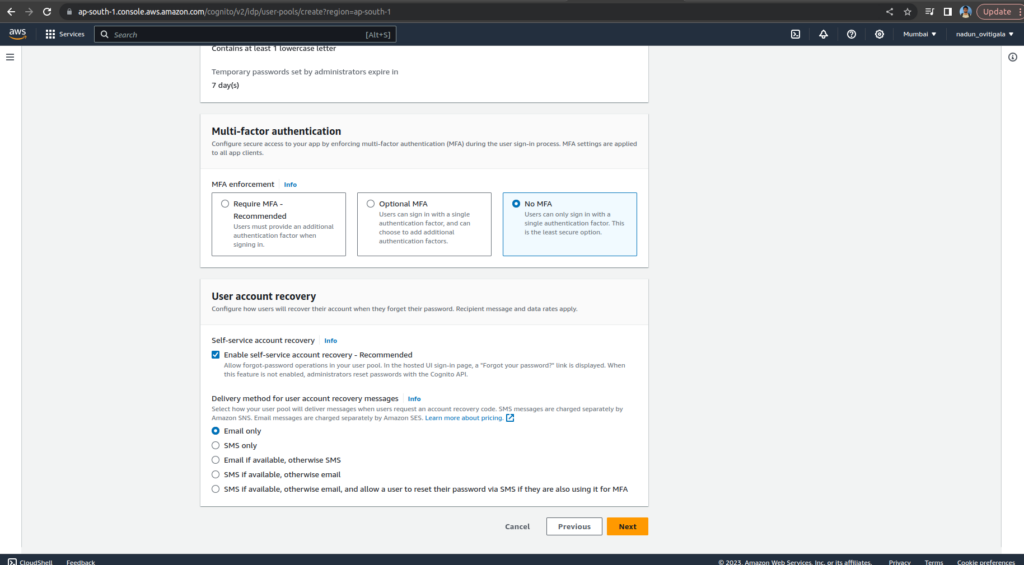
Keep everything as default. Choose Next
For Email provider, confirm that Send email with Amazon SES – Recommended is selected. In the FROM email address field, select an email address that you have verified with Amazon SES. (following the instructions in Verifying an email address identity in the Amazon Simple Email Service Developer Guide.)
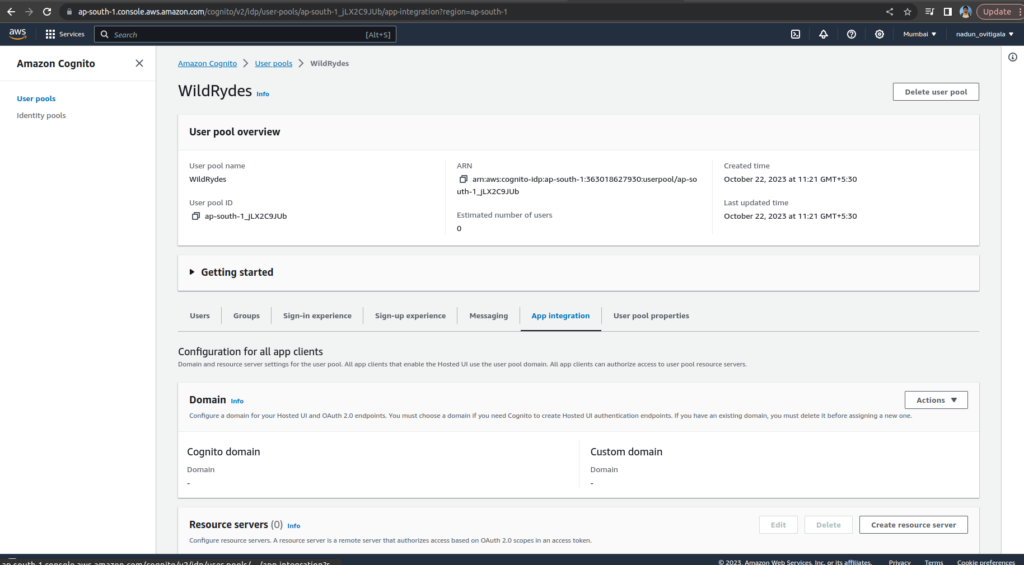
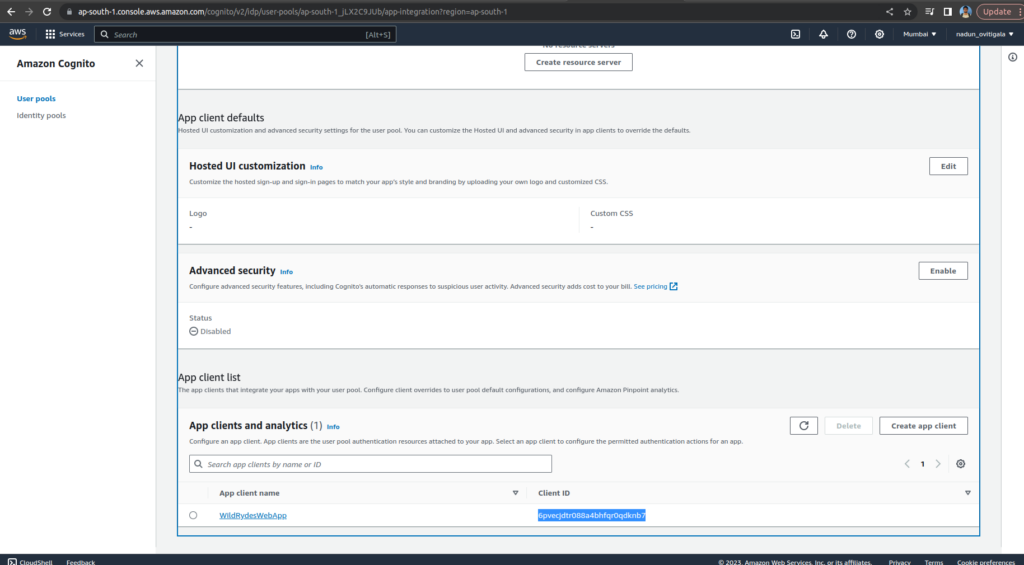
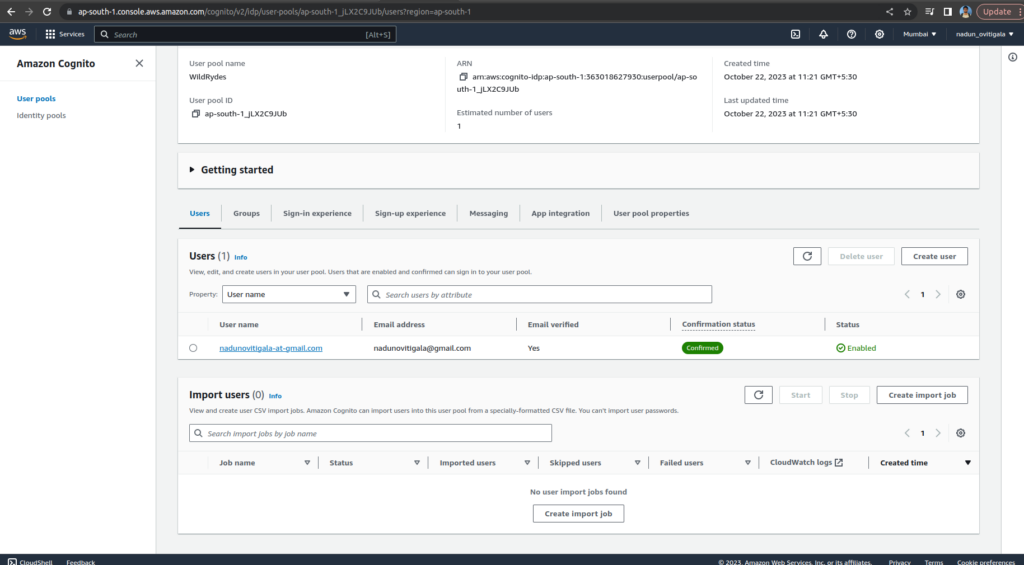
On the Integrate your app page, name your user pool: WildRydes. Under Initial app client, name the app client: WildRydesWebApp and keep the other settings as default
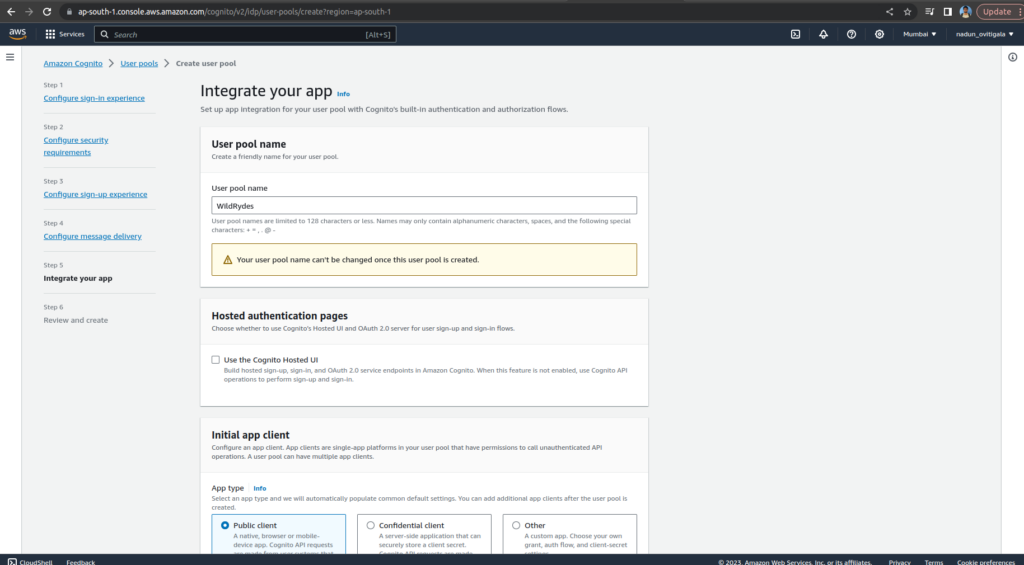
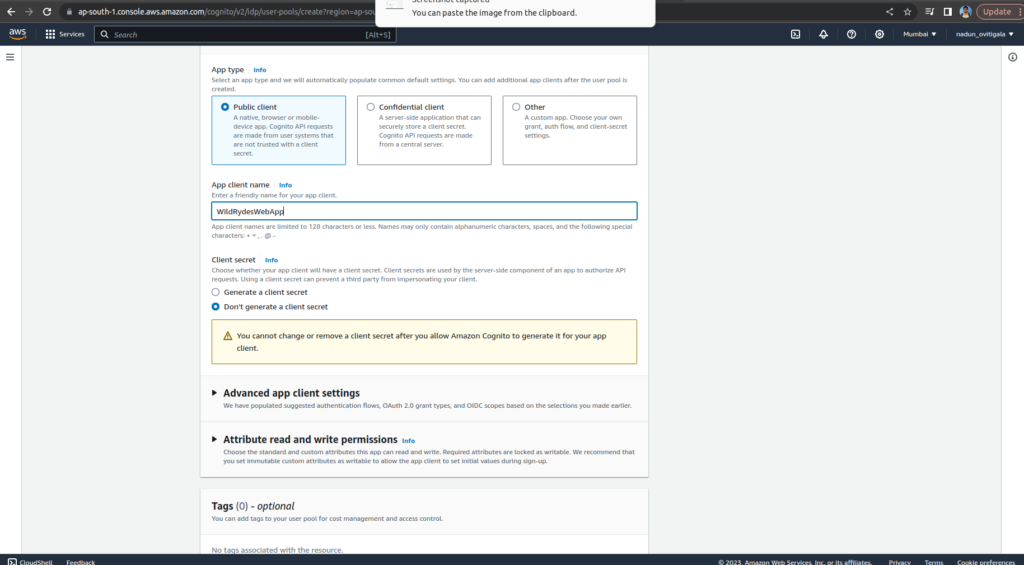
Choose Create user pool
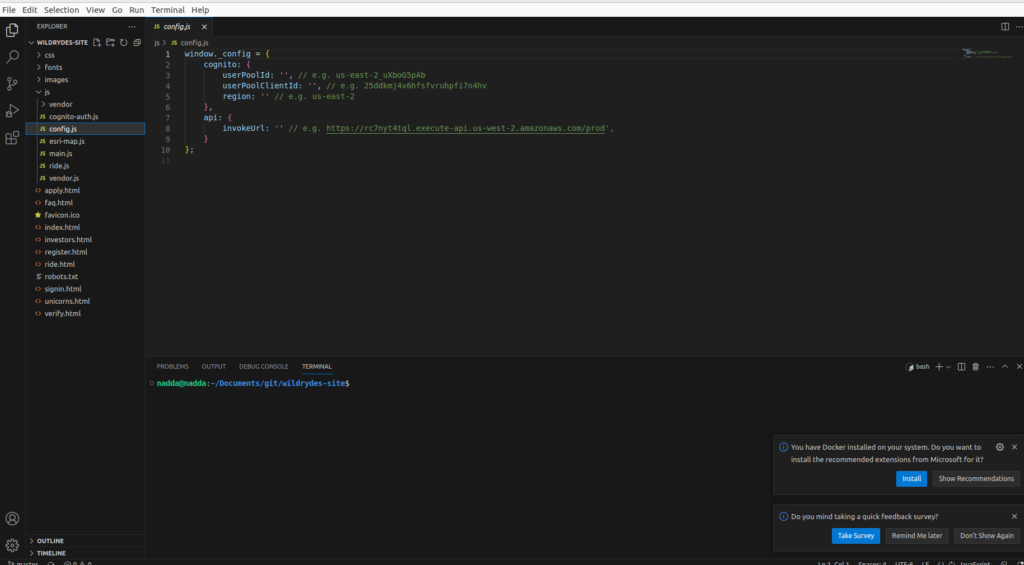
Open the wildryde-site/js/config.js file
Update the cognito section of the file with User pool ID and App Client ID values
Push the changes to the repo
git add .
git commit -m "new_config"
git push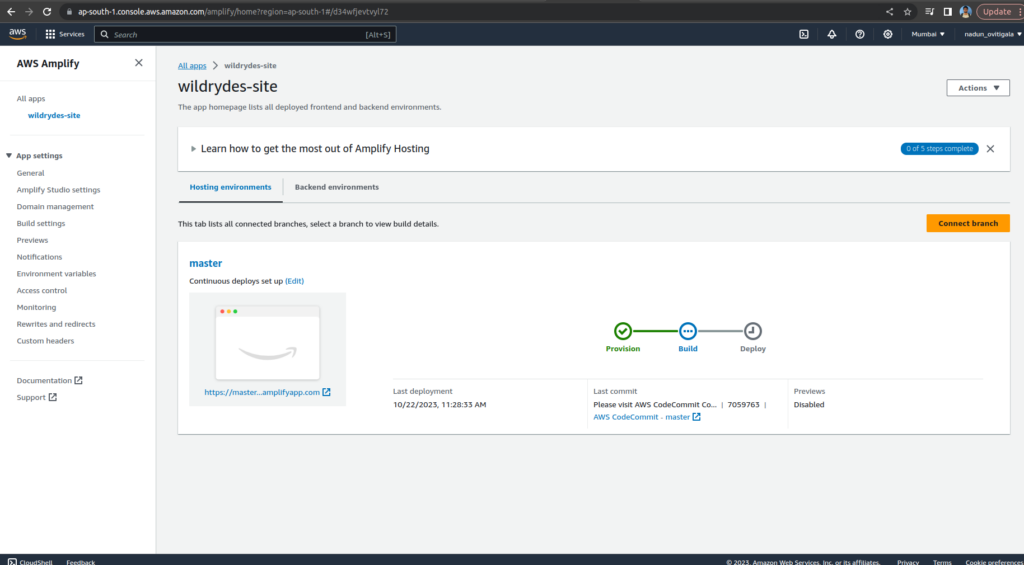
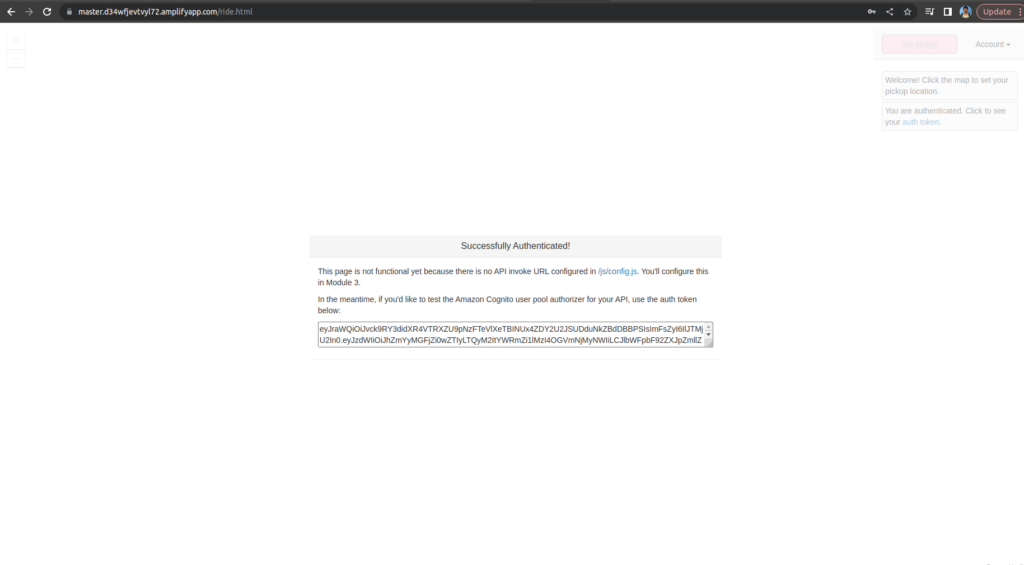
Open /register.html, or choose the Giddy Up!

Enter the verify code (by visiting /verify.html)

If successful you should be redirected to /ride.html
DynomoDB
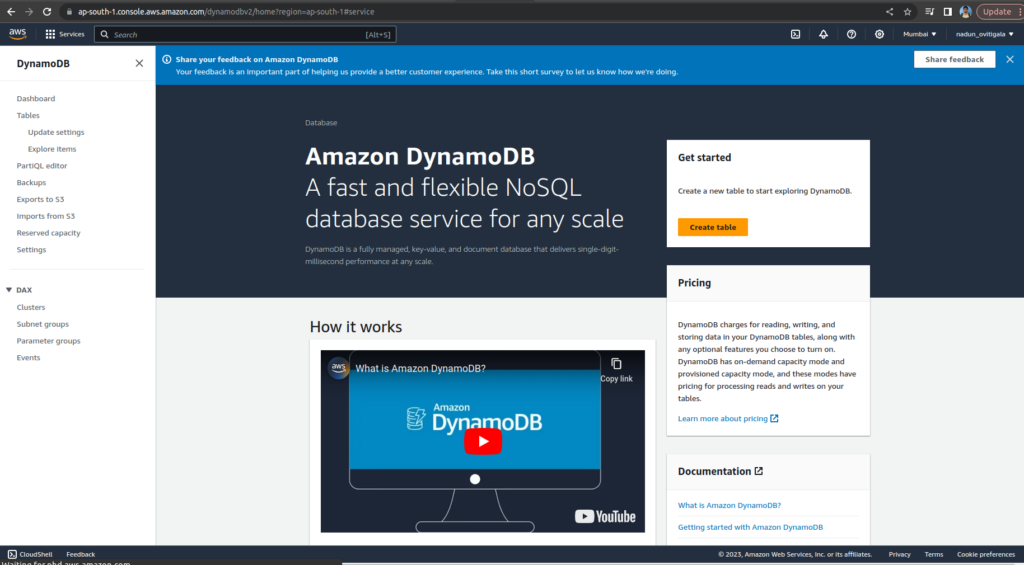
Amazon DynamoDB is a fully managed NoSQL database service offered by Amazon Web Services (AWS). It provides a flexible, scalable, and low-latency data storage solution for applications that require fast and predictable performance. DynamoDB is designed to handle both read and write-heavy workloads, offers automatic scaling, and supports various data models. It’s a popular choice for applications requiring high availability, seamless replication, and low administrative overhead, making it an essential component of modern cloud-based systems
Search and go to the DynomoDB
choose Create table
For the Table name, enter Rides
For the Partition key, enter RideIdand select String for the key type
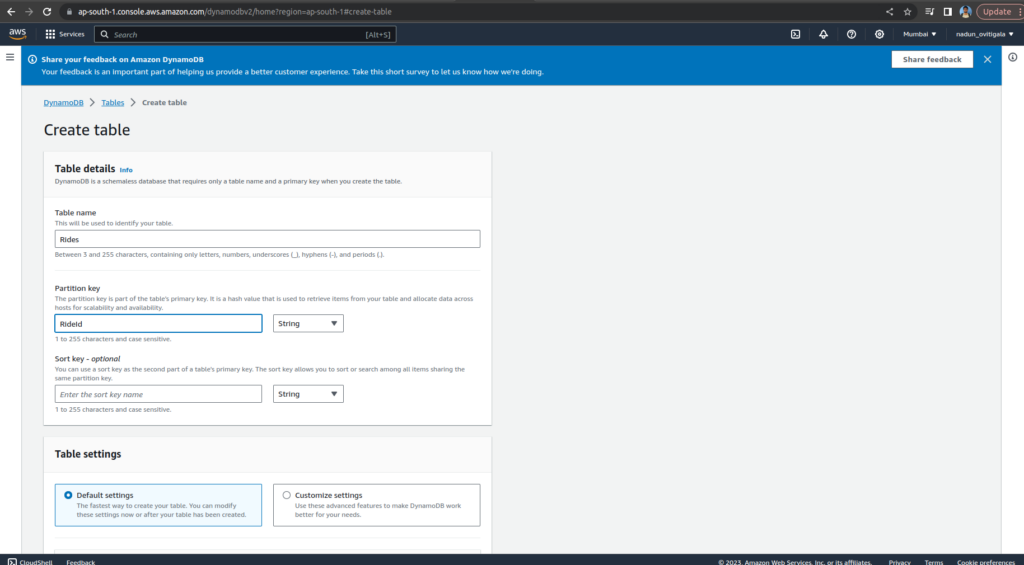
Choose Create table.
IAM
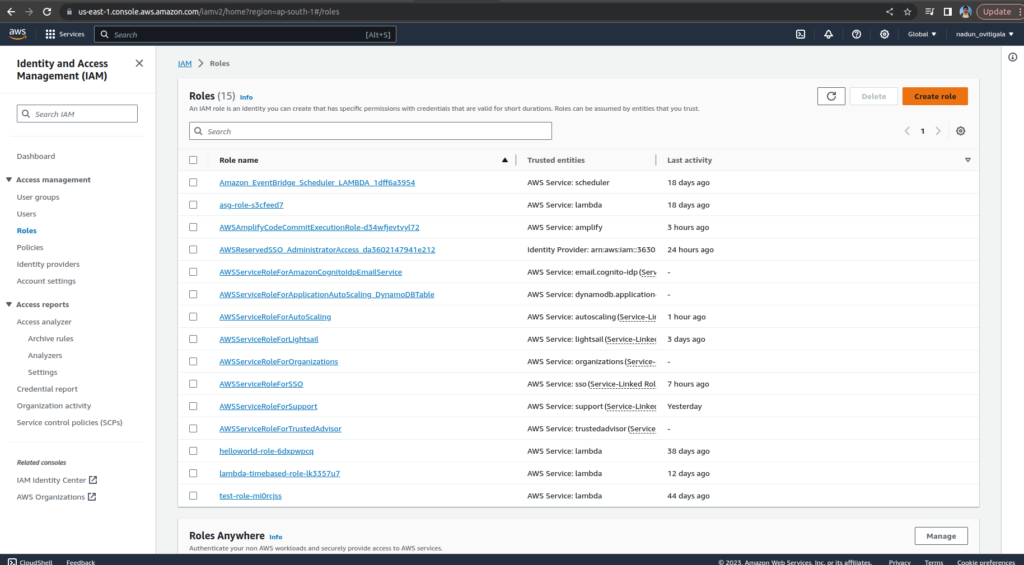
AWS Identity and Access Management (IAM) is a cloud service that enables you to securely manage access to AWS resources. It allows you to create and control user accounts, grant permissions, and define policies to ensure only authorized users and systems can interact with your AWS services. IAM plays a crucial role in maintaining the security and compliance of your AWS environment by allowing fine-grained control over who can do what within your cloud infrastructure.
Go to the IAM and choose Create Role.
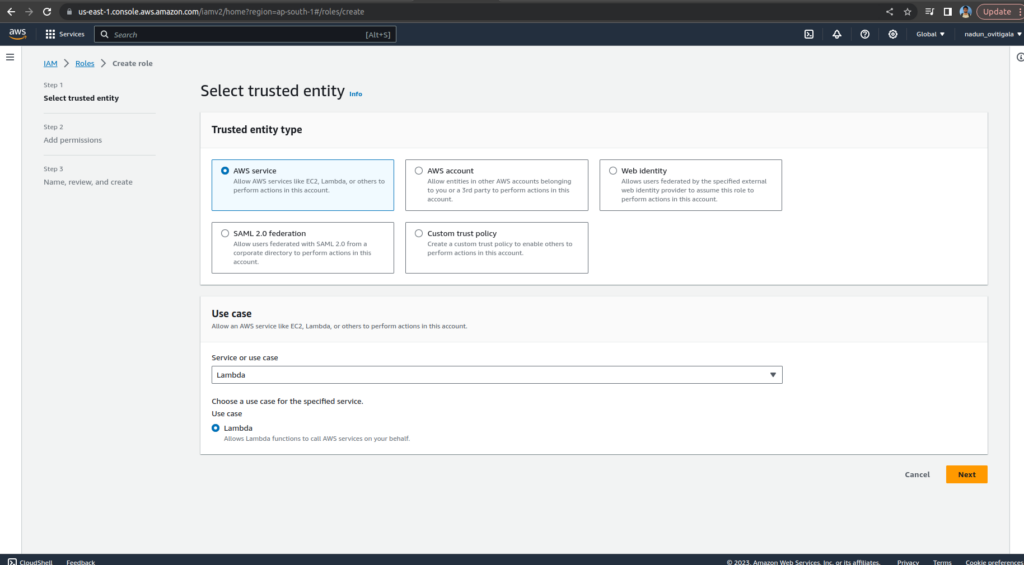
Choose Lambda
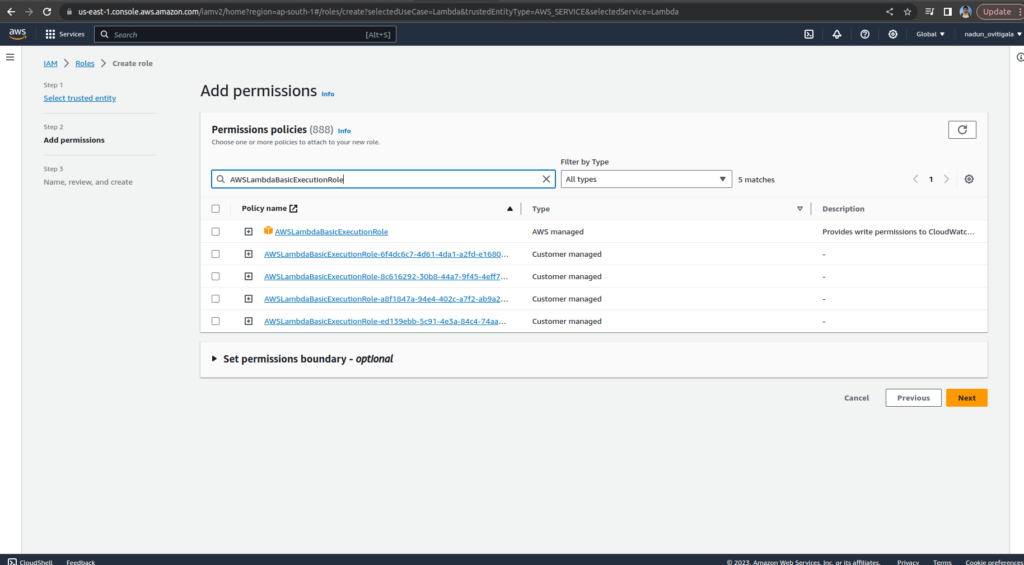
Enter AWSLambdaBasicExecutionRolein the filter text box and press Enter.
Enter WildRydesLambda for the Role Name.
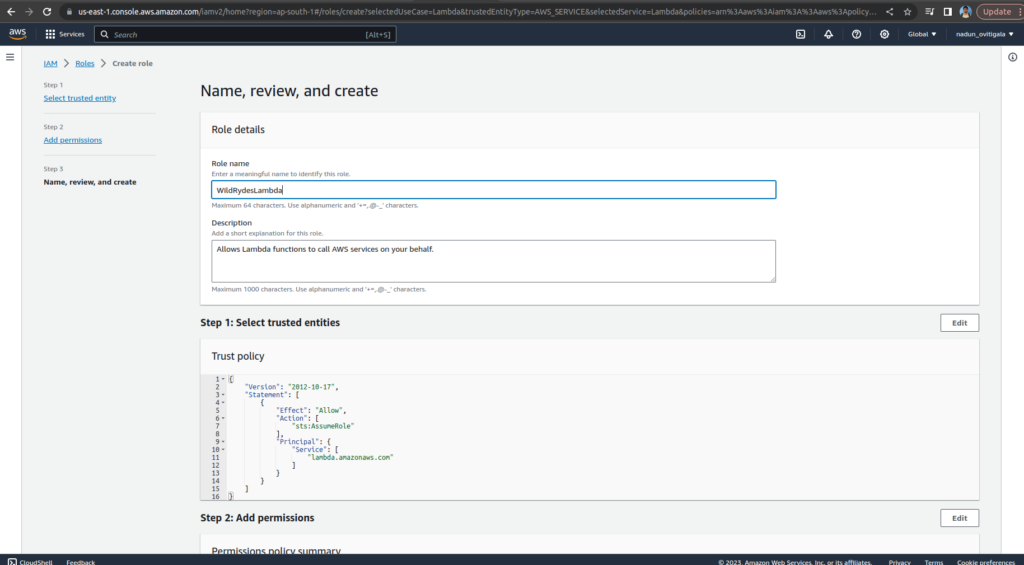
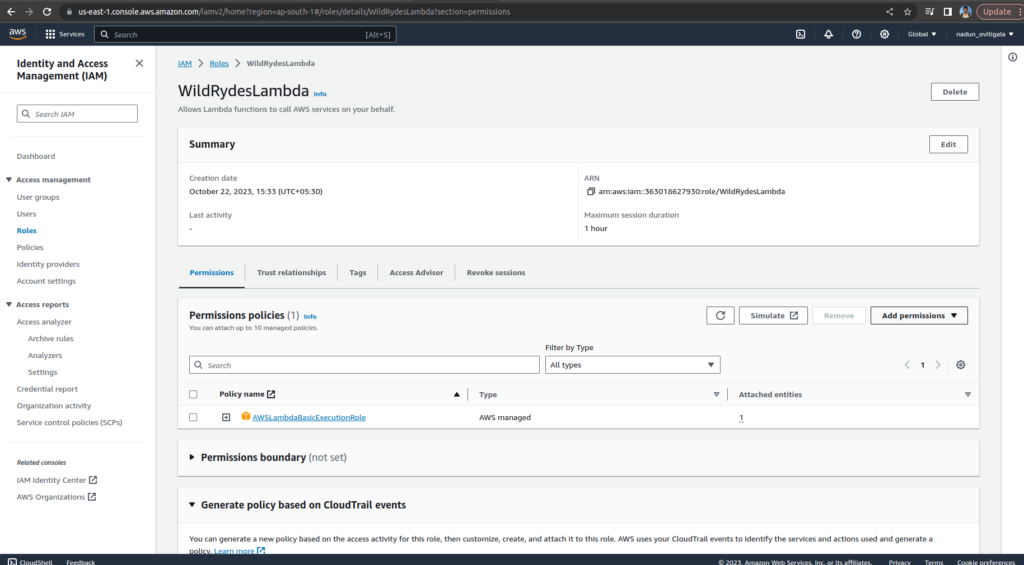
Choose Create Role
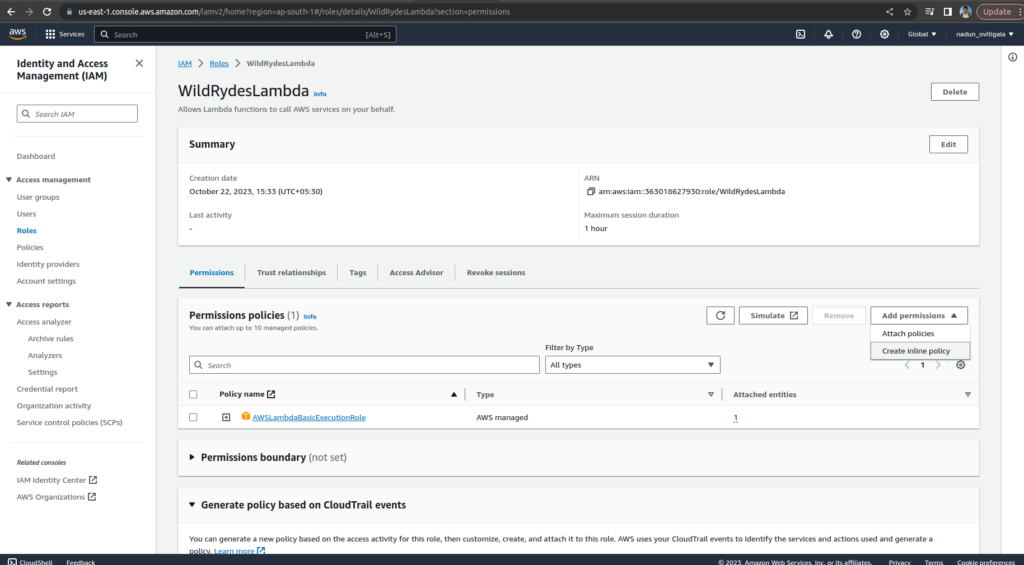
On the Permissions tab, under Add permissions, choose Create Inline Policy.
In the Select a service section, type DynamoDBinto the search bar, and select DynamoDB when it appears.
Choose Select actions.
In the Actions allowed section, type PutItem into the search bar and select the checkbox next to PutItem when it appears.
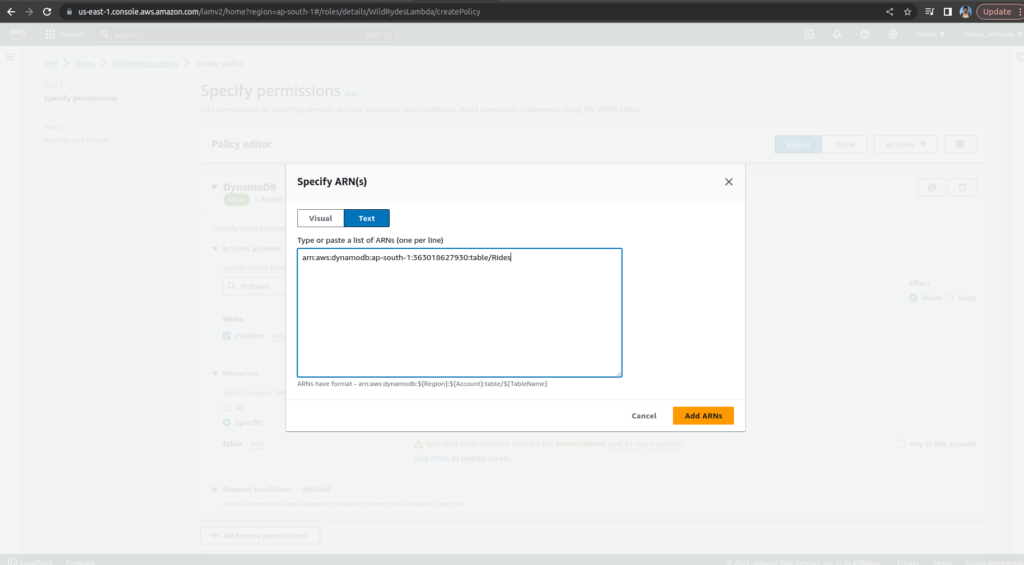
In the Resources section, with the Specific option selected, choose the Add ARN link.
Select the Text tab. Paste the ARN of the table you created in DynamoDB, and choose Add ARNs.
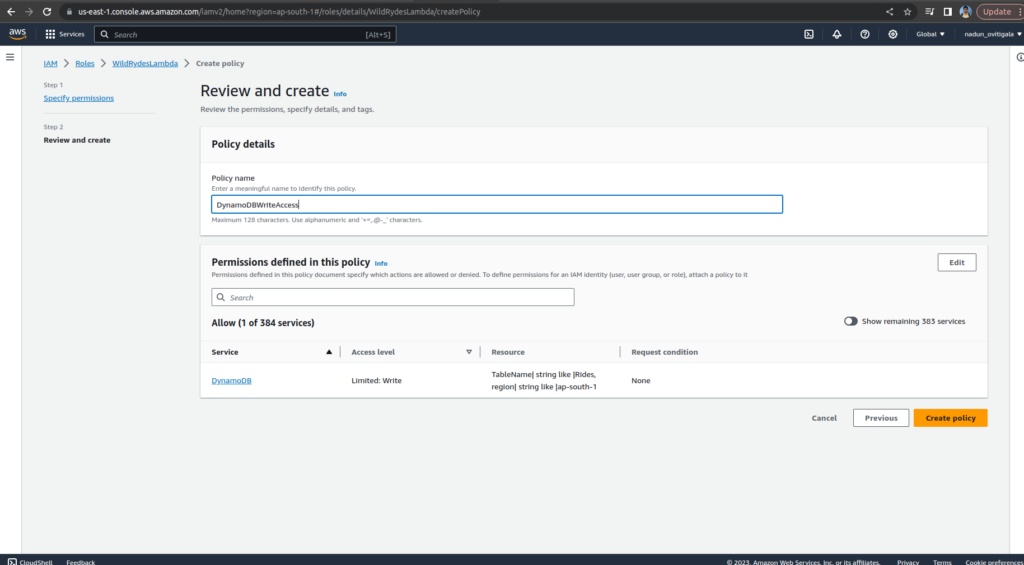
Enter DynamoDBWriteAccess for the policy name and choose Create policy.
Lambda
AWS Lambda is a serverless compute service provided by Amazon Web Services (AWS) that allows you to run code in response to events without the need to manage servers. It automatically scales, manages resources, and bills you only for the compute time you consume. You can use Lambda to build applications, microservices, and automate tasks, triggering functions in response to various AWS services, HTTP requests, or custom events, making it a versatile and cost-effective tool for building serverless applications.
Go to the Lambda and select create function
Keep the default Author from scratch. Enter RequestUnicorn in the Function name field. Select Node.js 16.x
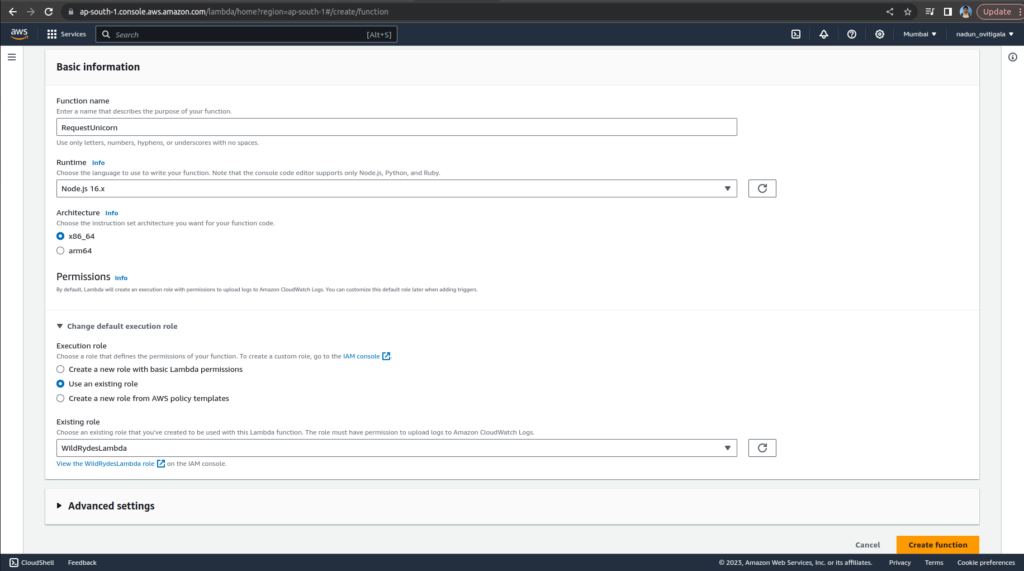
Select Use an existing role from the Change default execution role dropdown.
Select WildRydesLambdafrom the Existing Role dropdown.
Click on Create function.
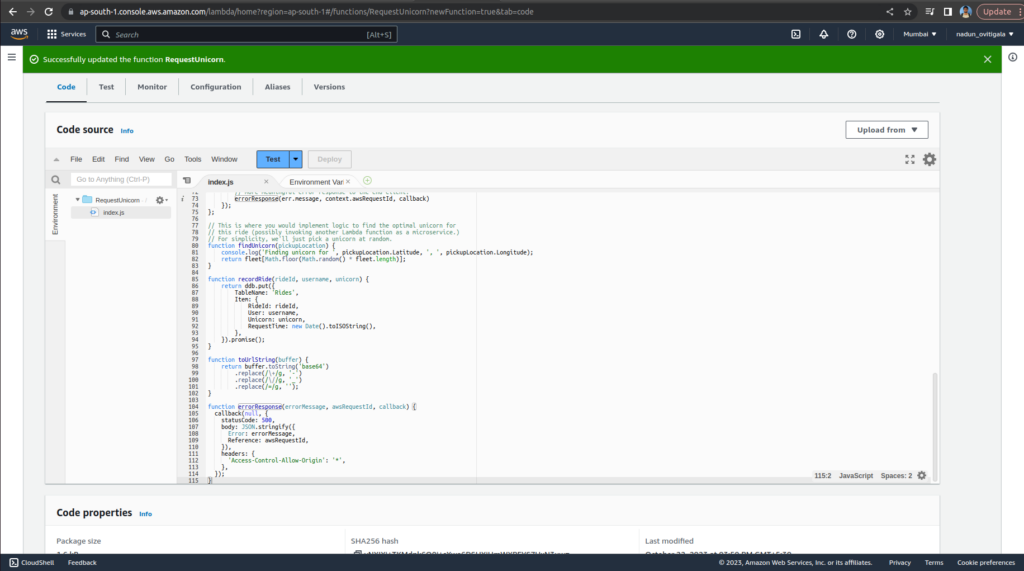
remove the existing index.js code and paste below code
const randomBytes = require('crypto').randomBytes;
const AWS = require('aws-sdk');
const ddb = new AWS.DynamoDB.DocumentClient();

const fleet = [
    {
        Name: 'Angel',
        Color: 'White',
        Gender: 'Female',
    },
    {
        Name: 'Gil',
        Color: 'White',
        Gender: 'Male',
    },
    {
        Name: 'Rocinante',
        Color: 'Yellow',
        Gender: 'Female',
    },
];

exports.handler = (event, context, callback) => {
    if (!event.requestContext.authorizer) {
      errorResponse('Authorization not configured', context.awsRequestId, callback);
      return;
    }

    const rideId = toUrlString(randomBytes(16));
    console.log('Received event (', rideId, '): ', event);

    // Because we're using a Cognito User Pools authorizer, all of the claims
    // included in the authentication token are provided in the request context.
    // This includes the username as well as other attributes.
    const username = event.requestContext.authorizer.claims['cognito:username'];

    // The body field of the event in a proxy integration is a raw string.
    // In order to extract meaningful values, we need to first parse this string
    // into an object. A more robust implementation might inspect the Content-Type
    // header first and use a different parsing strategy based on that value.
    const requestBody = JSON.parse(event.body);

    const pickupLocation = requestBody.PickupLocation;

    const unicorn = findUnicorn(pickupLocation);

    recordRide(rideId, username, unicorn).then(() => {
        // You can use the callback function to provide a return value from your Node.js
        // Lambda functions. The first parameter is used for failed invocations. The
        // second parameter specifies the result data of the invocation.

        // Because this Lambda function is called by an API Gateway proxy integration
        // the result object must use the following structure.
        callback(null, {
            statusCode: 201,
            body: JSON.stringify({
                RideId: rideId,
                Unicorn: unicorn,
                Eta: '30 seconds',
                Rider: username,
            }),
            headers: {
                'Access-Control-Allow-Origin': '*',
            },
        });
    }).catch((err) => {
        console.error(err);

        // If there is an error during processing, catch it and return
        // from the Lambda function successfully. Specify a 500 HTTP status
        // code and provide an error message in the body. This will provide a
        // more meaningful error response to the end client.
        errorResponse(err.message, context.awsRequestId, callback)
    });
};

// This is where you would implement logic to find the optimal unicorn for
// this ride (possibly invoking another Lambda function as a microservice.)
// For simplicity, we'll just pick a unicorn at random.
function findUnicorn(pickupLocation) {
    console.log('Finding unicorn for ', pickupLocation.Latitude, ', ', pickupLocation.Longitude);
    return fleet[Math.floor(Math.random() * fleet.length)];
}

function recordRide(rideId, username, unicorn) {
    return ddb.put({
        TableName: 'Rides',
        Item: {
            RideId: rideId,
            User: username,
            Unicorn: unicorn,
            RequestTime: new Date().toISOString(),
        },
    }).promise();
}

function toUrlString(buffer) {
    return buffer.toString('base64')
        .replace(/\+/g, '-')
        .replace(/\//g, '_')
        .replace(/=/g, '');
}

function errorResponse(errorMessage, awsRequestId, callback) {
  callback(null, {
    statusCode: 500,
    body: JSON.stringify({
      Error: errorMessage,
      Reference: awsRequestId,
    }),
    headers: {
      'Access-Control-Allow-Origin': '*',
    },
  });
}
Choose Test in the Code source section, and select Configure test event from the dropdown
Copy and paste the following test event into the Event JSON section. Enter TestRequestEvent in the Event name field.
{
    "path": "/ride",
    "httpMethod": "POST",
    "headers": {
        "Accept": "*/*",
        "Authorization": "eyJraWQiOiJLTzRVMWZs",
        "content-type": "application/json; charset=UTF-8"
    },
    "queryStringParameters": null,
    "pathParameters": null,
    "requestContext": {
        "authorizer": {
            "claims": {
                "cognito:username": "the_username"
            }
        }
    },
    "body": "{\"PickupLocation\":{\"Latitude\":47.6174755835663,\"Longitude\":-122.28837066650185}}"
}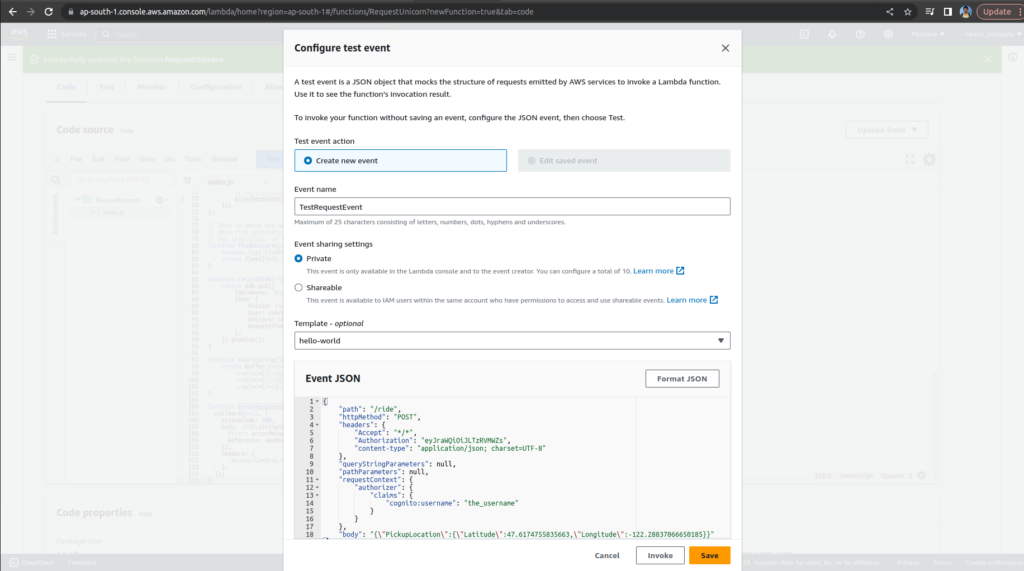
Choose Save.
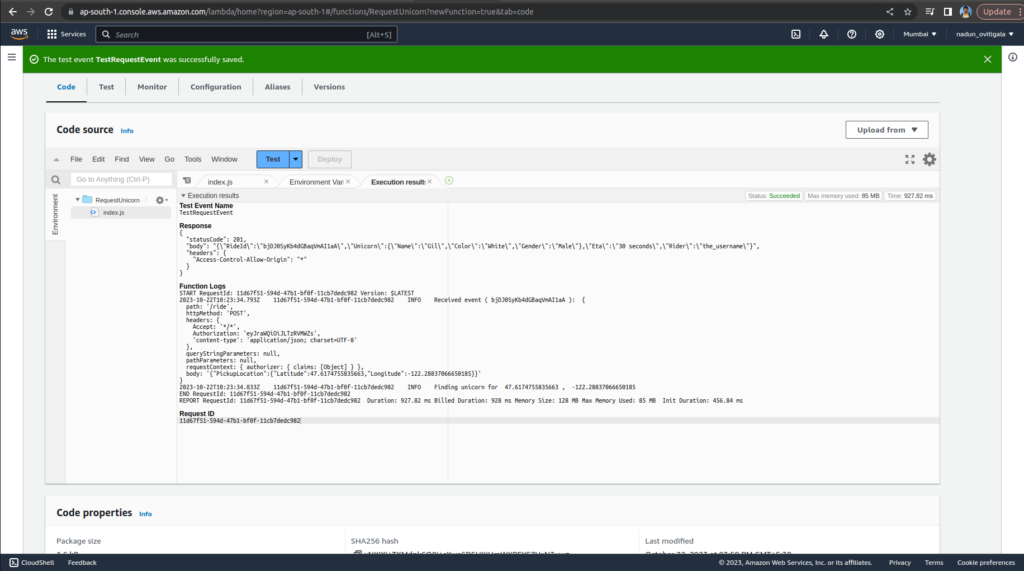
In the Code source section of your function, choose Test and select TestRequestEvent from the dropdown.
On the Test tab, choose Test.
Verify that the function result looks like the following
{
    "statusCode": 201,
    "body": "{\"RideId\":\"SvLnijIAtg6inAFUBRT+Fg==\",\"Unicorn\":{\"Name\":\"Rocinante\",\"Color\":\"Yellow\",\"Gender\":\"Female\"},\"Eta\":\"30 seconds\"}",
    "headers": {
        "Access-Control-Allow-Origin": "*"
    }
}
API Gateway
Amazon API Gateway is a fully managed service from Amazon Web Services (AWS) that allows developers to create, publish, and manage APIs for their applications. It acts as a gateway to your backend services, making it easy to expose HTTP and WebSocket APIs to the internet. With features like authentication, security, monitoring, and throttling, API Gateway helps streamline the process of building and maintaining APIs, enabling developers to focus on their application logic rather than infrastructure management.
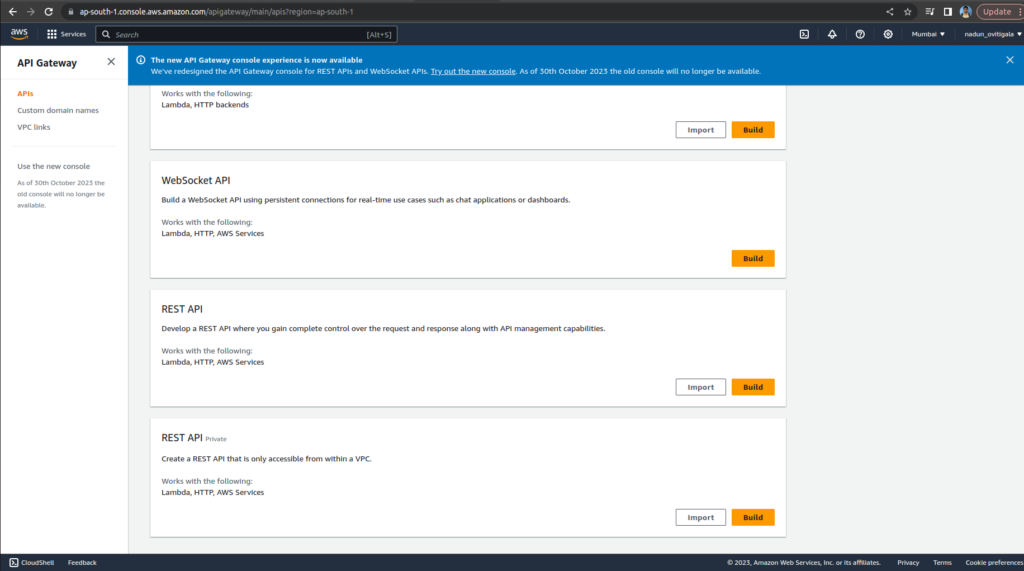
Search API Gateway and choose BUILD under REST API.
Choose the protocol section, select REST.
Create new API section, select New API.
Select Edge optimized in the Endpoint Type
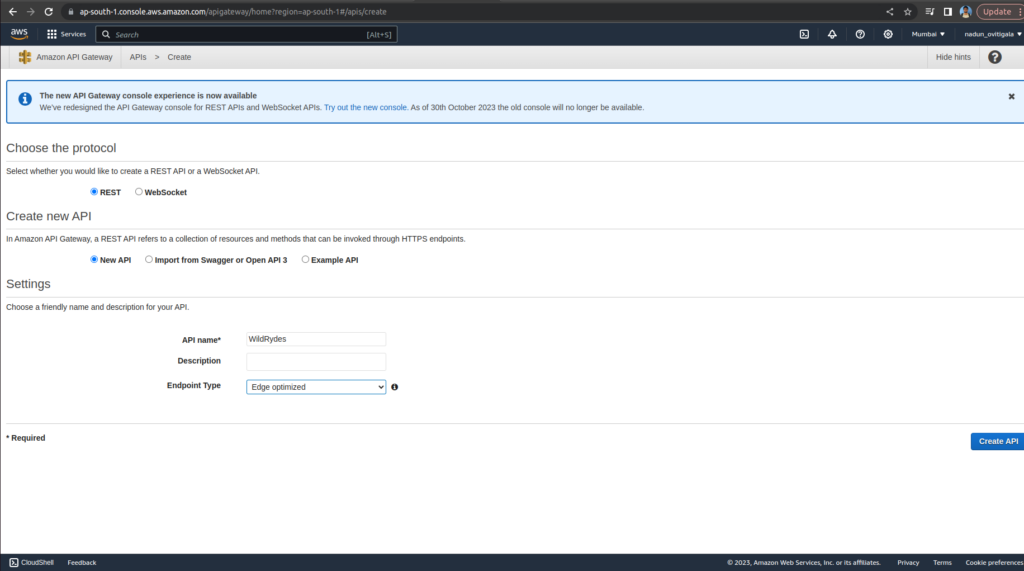
Choose Create.
From the Actions dropdown, select Create Resource.
Enter ride as the Resource Name, which will automatically create the Resource Path /ride.
Select the checkbox for Enable API Gateway CORS.
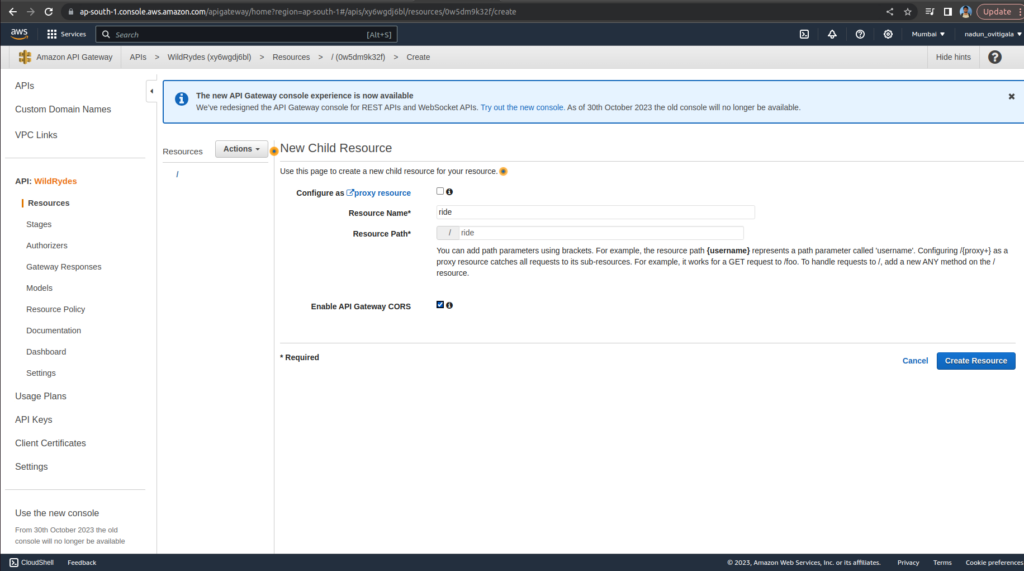
Choose Create Resource
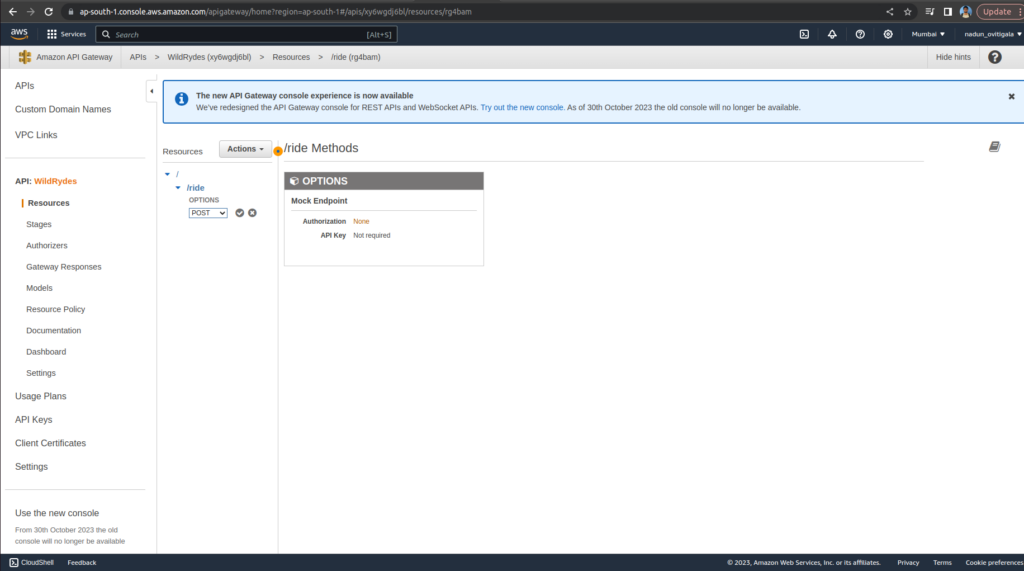
With the newly created /ride resource selected, from the Actions dropdown select Create Method.
Select POST from the new dropdown that appears under OPTIONS, then select the checkmark icon.
Select Lambda Function for the Integration type
Select the checkbox for Use Lambda Proxy integration. Note : This is not selected on below Screen Shot
Enter RequestUnicorn for Lambda Function
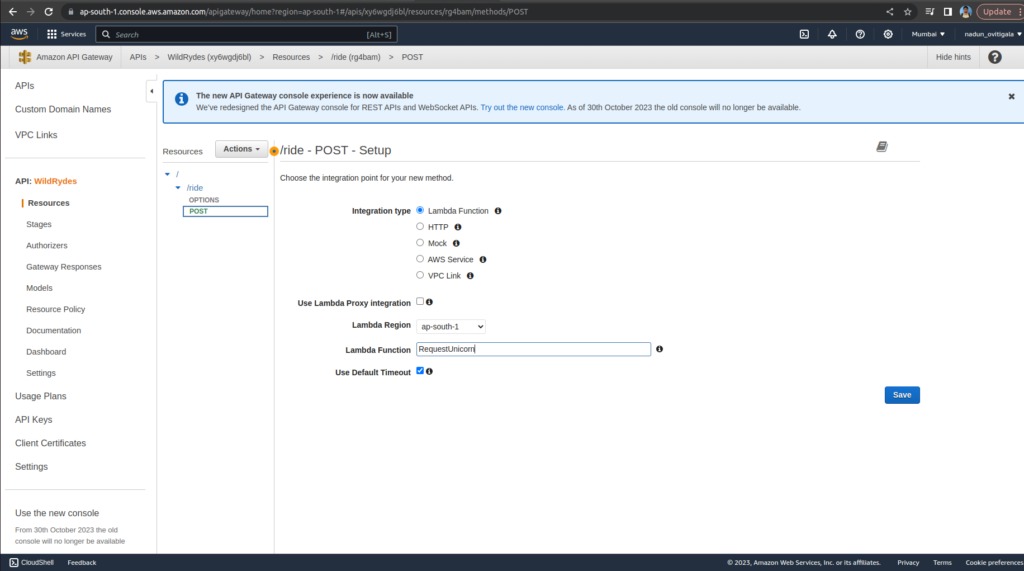
Choose Save.
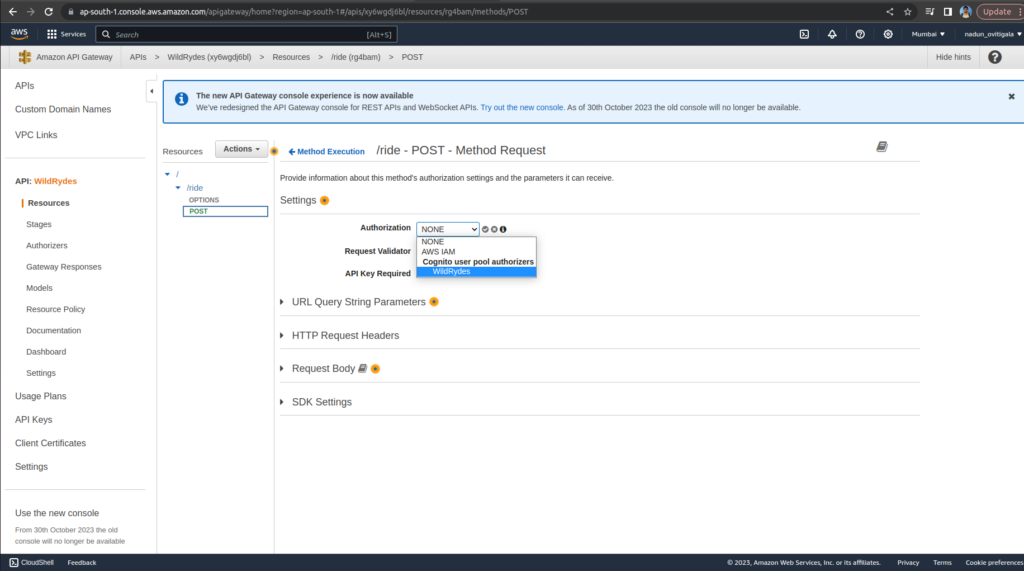
Select the Method Request card
Choose Authorization.
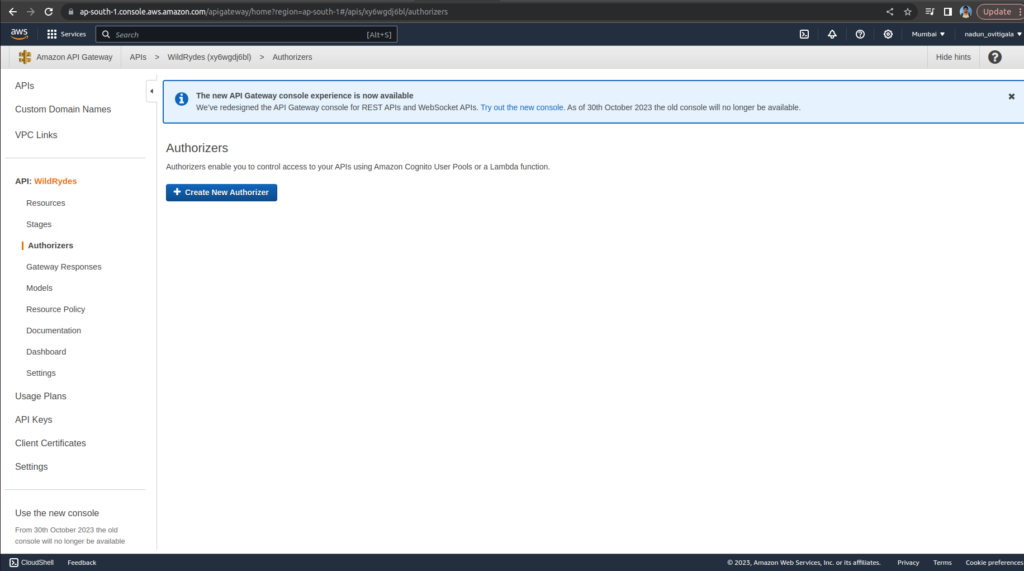
Select the WildRydes Cognito user pool authorizer
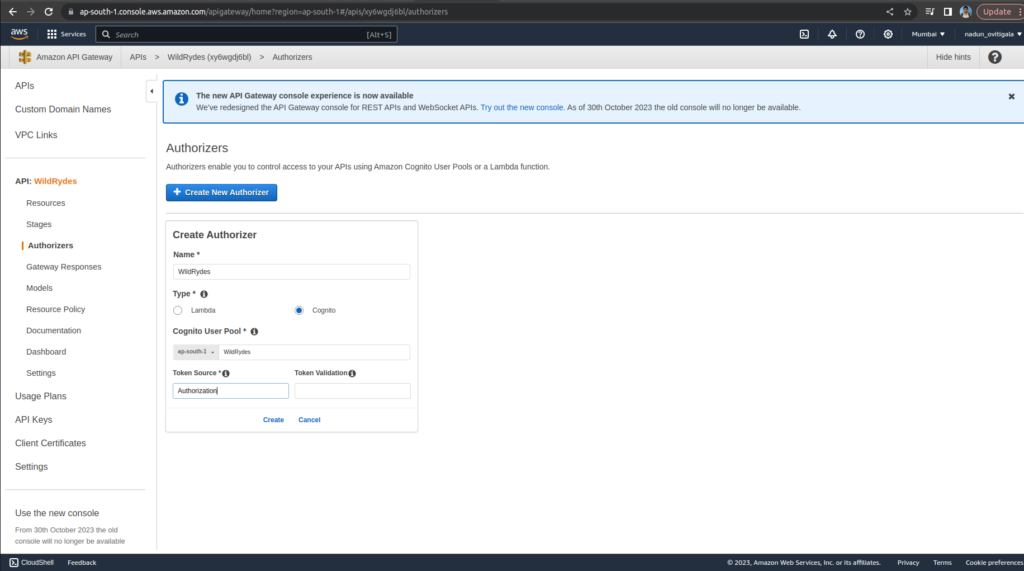
Go to the POST method Method Request
In Authorization please select created WildRydes Authorizer
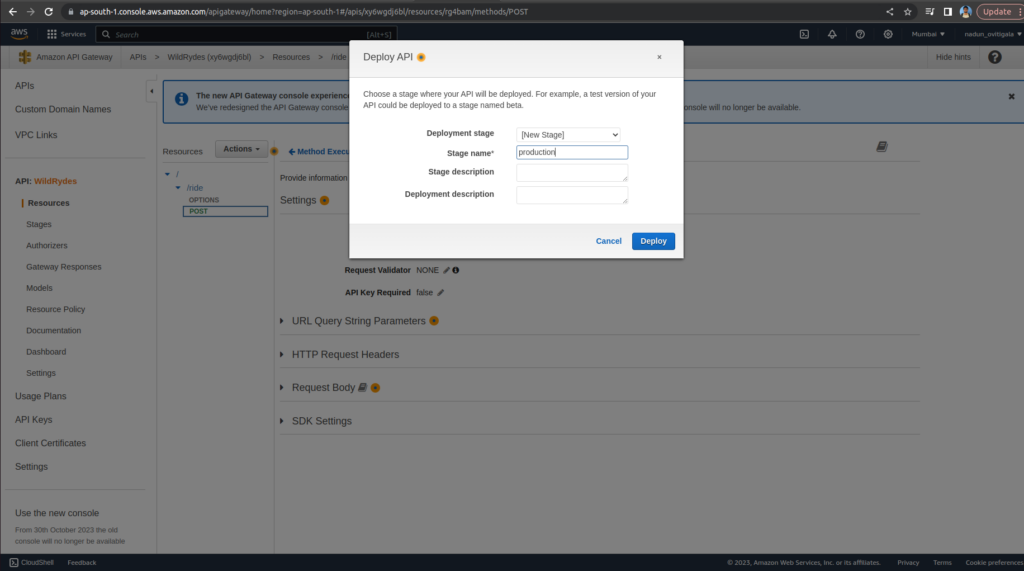
In the Actions drop-down list select Deploy API.
Select [New Stage] in the Deployment stage
Enter production for the Stage Name
Copy the Invoke URL
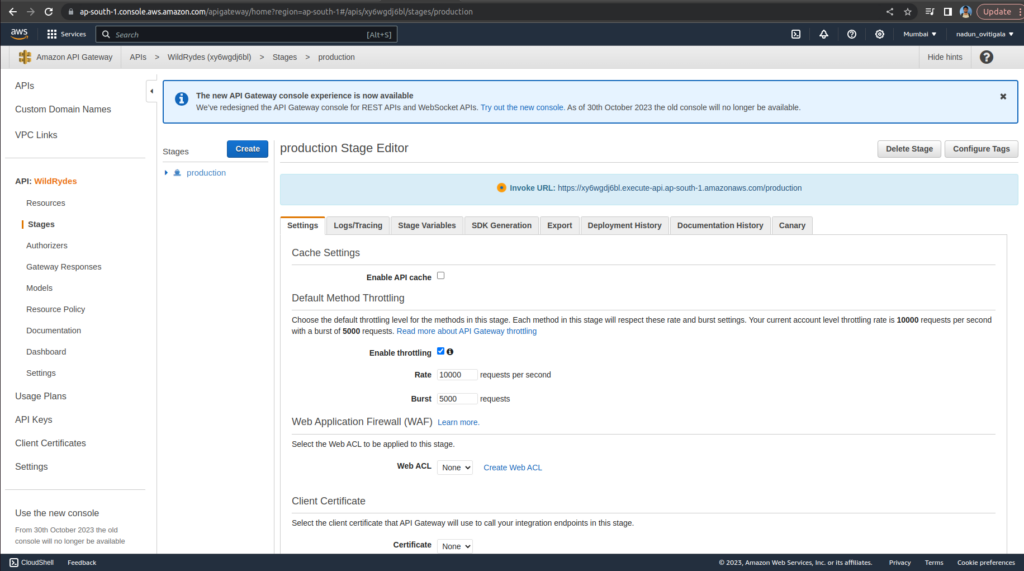
Paste the Invoke URL in config.js
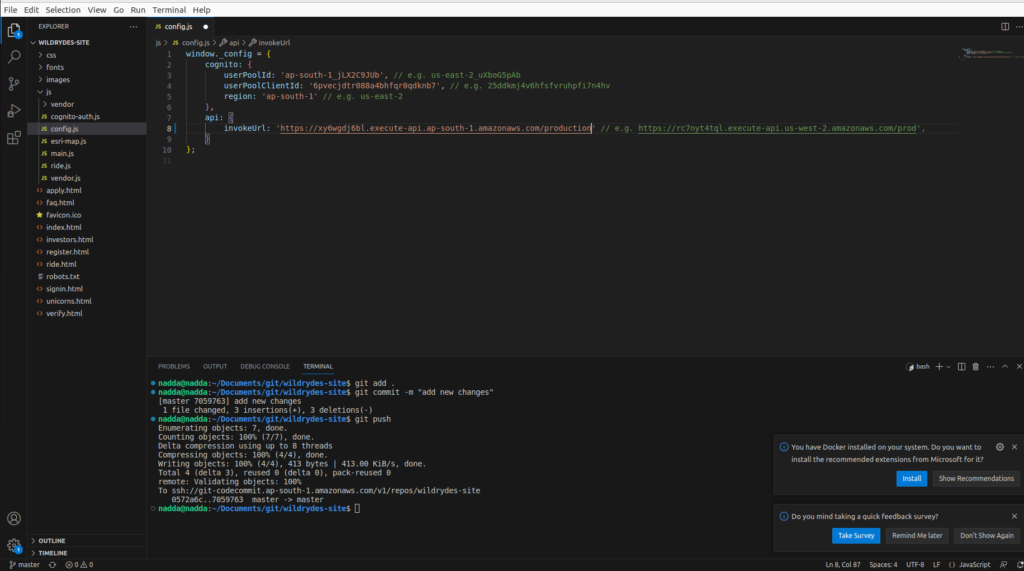
Push the changes to the repo
git add .
git commit -m "new_configuration"
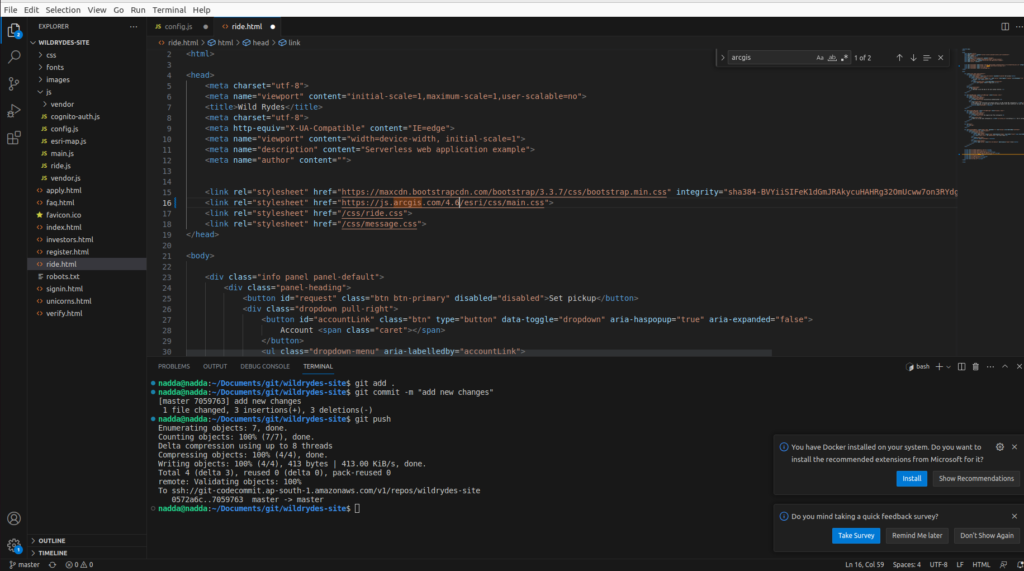
git pushUpdate the ArcGIS JS version from 4.3 to 4.6 in the ride.html file as below
<script src="https://js.arcgis.com/4.6/"></script>
 <link rel="stylesheet" href="https://js.arcgis.com/4.6/esri/css/main.css">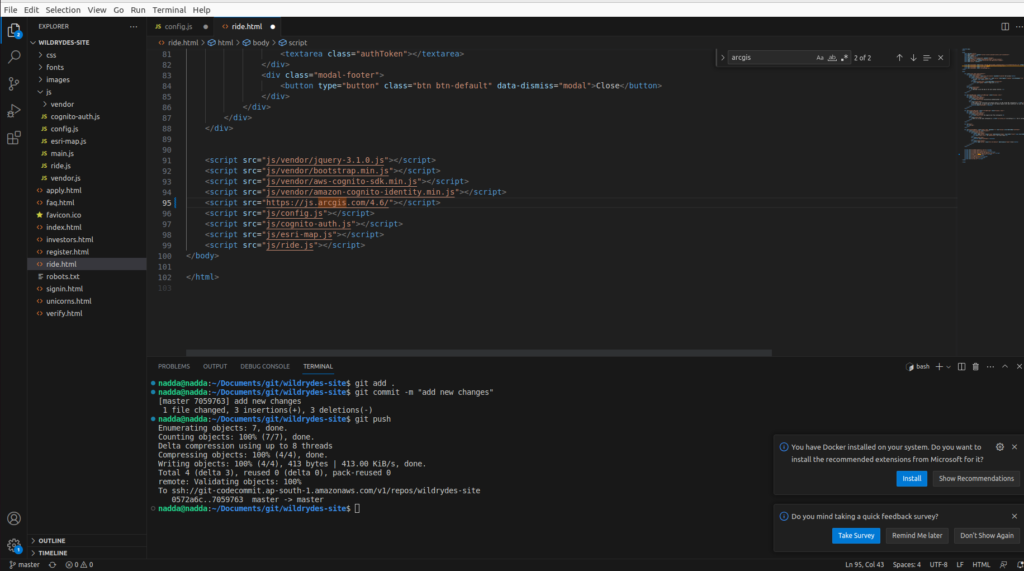
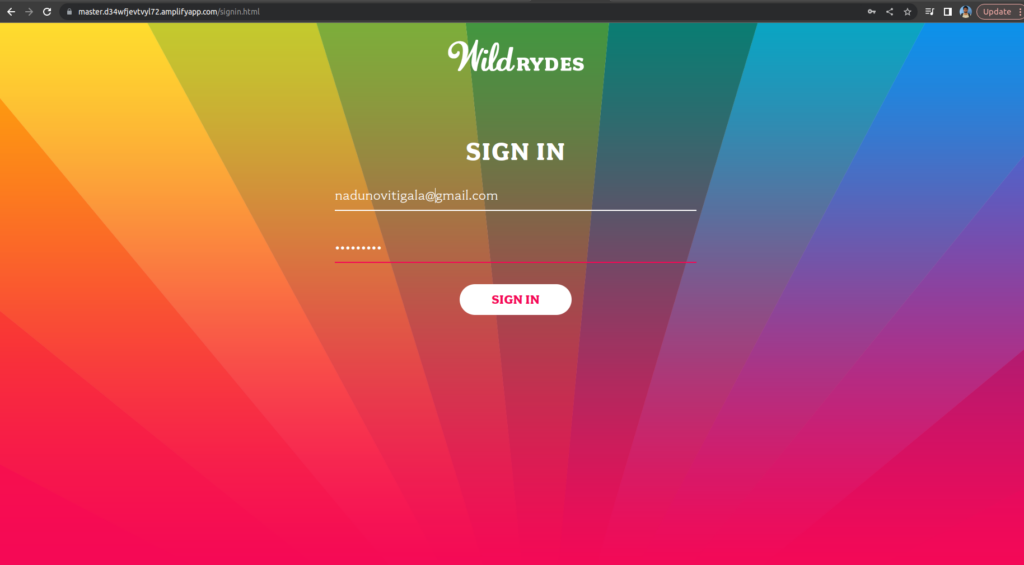
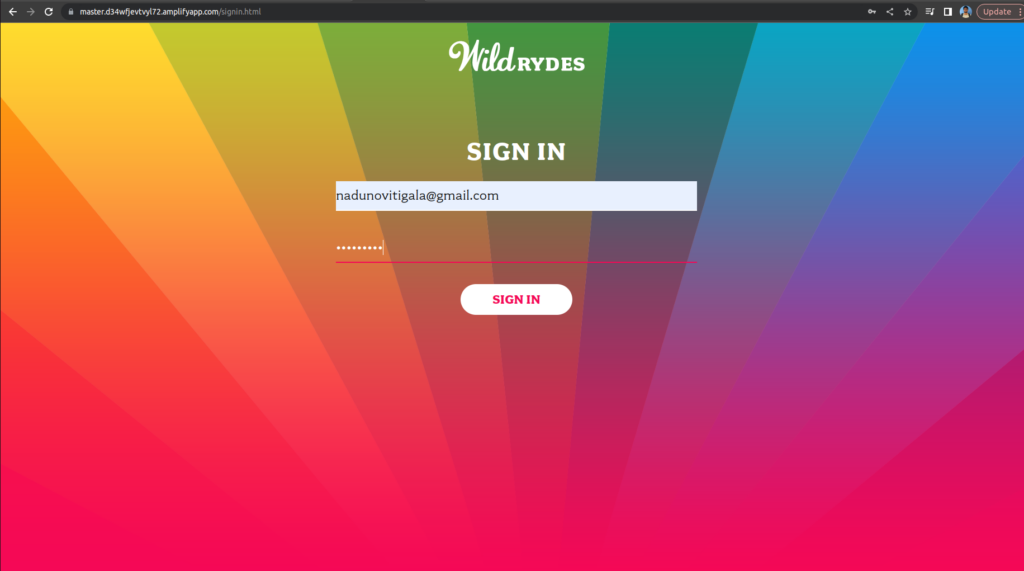
Visit /signin.html under domain
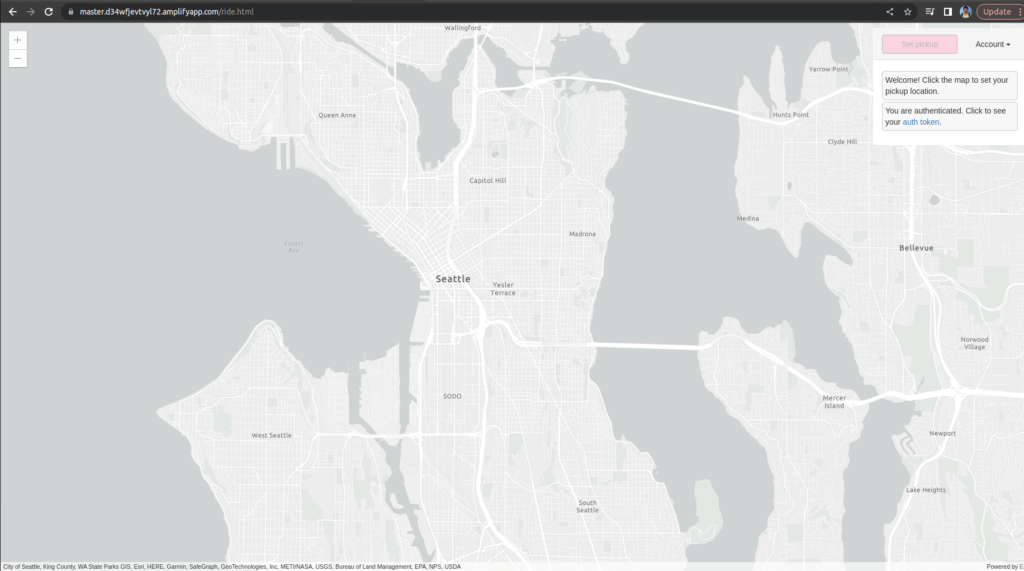
Please select a Location
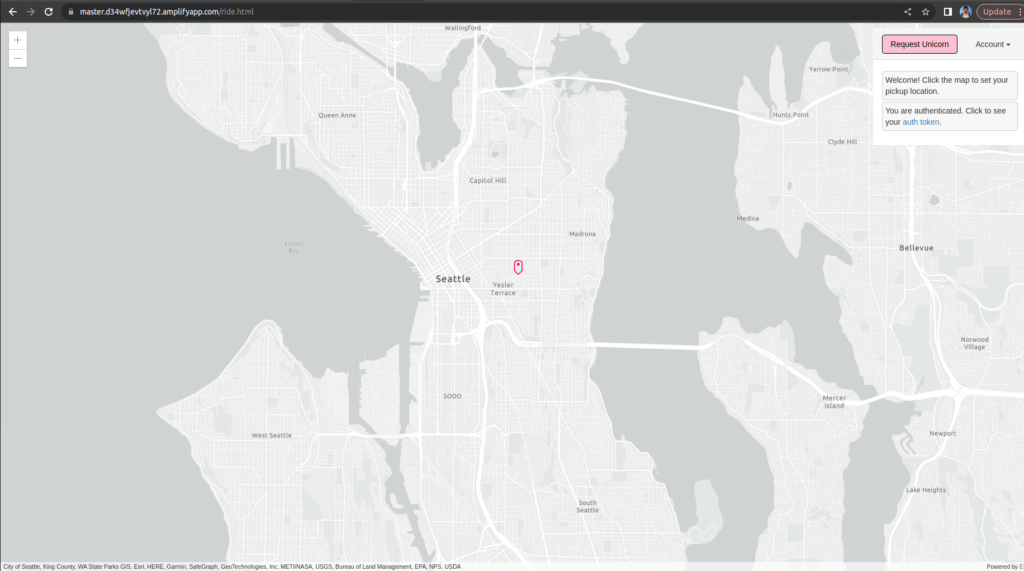
Now Click on Request Unicorn
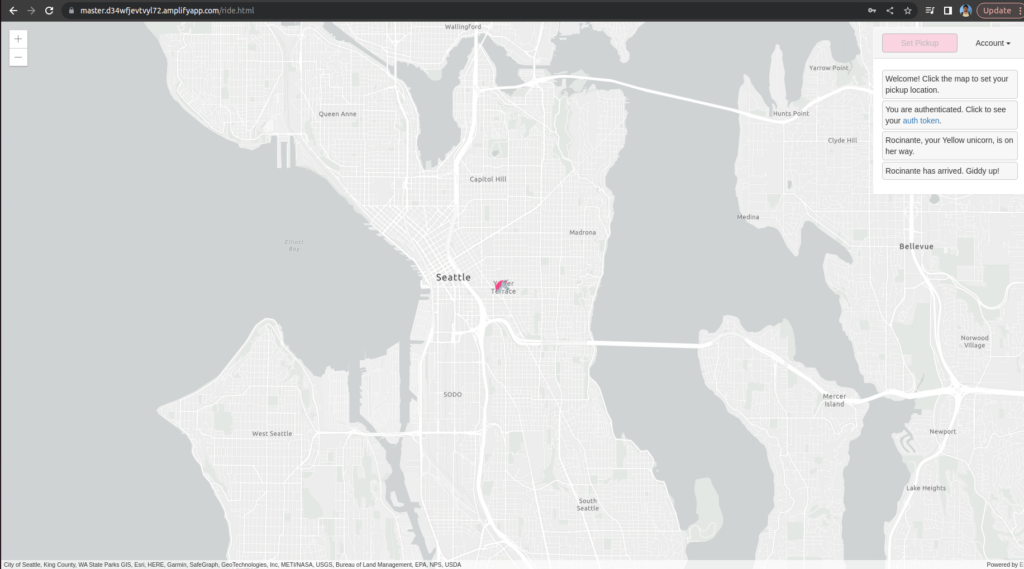
Finally You Got a Unicorn 🙂
Thanks!!
References : https://aws.amazon.com/getting-started/hands-on/build-serverless-web-app-lambda-apigateway-s3-dynamodb-cognito/